
You probably filled your raised garden beds with fresh, fertile soil when you first set up them up. Over time, however, this soil will become depleted of nutrients and may lose its productivity. Therefore, it’s essential to amend raised bed soil periodically by adding new soil and organic matters to replenish soil nutrients. Refreshing the raised bed soil regularly with the right soil amendments is the key to keep your raised bed soil healthy and productive.
As mentioned in the step-by-step guide to start a home vegetable garden for beginners, one of my top tips is to invest in the soil. Remember my mantra: A well-maintained soil is much more beneficial than fertilizing an individual plant.
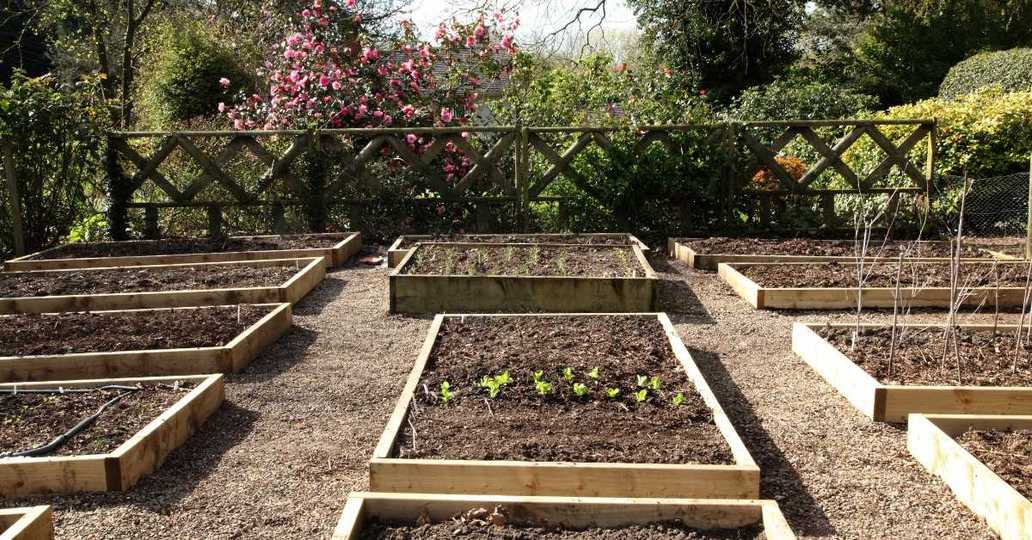
So what do I do to maintain the health and productivity of my raised bed and elevated planter soil? Each year in late winter (around mid February in my Zone 7a) here’s how to prepare raised beds for spring planting:
Step 1. Remove debris from the raised garden bed
Keeping your raised garden bed free of debris and rotten plant matter ensures that your soil is free of unwanted pests and disease-causing spores. Here’s how to clear out your raised beds:
- Remove any old plants, stems, or branches that are no longer living. These can be composted or thrown away.
- Clear out any rotten fruits or leaves. These can also be composted or thrown away.
- Rake up any loose dirt, debris, and stones accumulated between the raised beds.
Leave the old roots in the soil:
While it may feel count intuitive to leave the roots of the old plants in the soil, it is helpful to leave them in! The soil in the raised bed is a living thing. It has its own biodiversity. If the roots are removed, the beneficial microbial and fungal colonies developed on the last year’s roots will be destroyed. On the other hand, if the root fibers are left in the soil, they will eventually break down on their own and add to the organic matter in the soil.
When you’re finished, your raised garden bed will be clean and ready for the next step!
Step 2. Inspect and repair the raised beds
Walk around the raised garden beds. Carefully inspect the sides to ensure the wood or panel has not become loose. Fix it now if you notice any cracks, uneven surfaces, or sagging from one area. If left unrepaired, the raised bed will start to sag from that area. In addition, each watering and heavy rain will cause more damage and ultimately may cause soil to wash away.
Step 3. Do a soil pH test for each raised bed
Ask any gardening expert- what is the most important thing to do before planting anything in the garden? I bet 9 of 10 will say to test the soil ph. Although knowing the soil pH is so vital for the success of the gardening season, many gardeners skip this part and regret it later.
Soil pH is a measurement of how acidic or alkaline the soil is. Soil pH influences how well plants can take up essential nutrients from the ground. Most vegetables prefer a soil pH in the 6.0 to 6.8 range. If your soil is not in this desired range, you can amend it with limestone or sulfur to adjust the pH accordingly.
Testing soil pH is important because it tells you how well your soil can support plant growth. If the pH is too acidic or too alkaline, you can amend the ground to bring the pH closer to 6-7.5 so that your plants will be able to get the nutrients they need from the soil.
Ask your county extension office about the soil pH test. Most of them offer this service free of charge or at very nominal fees. However, it will take 2 to 6 weeks to get the results back from them, so plan accordingly.
Alternatively, you can buy a soil pH testing kit at a reasonable cost.
Another benefit of the soil test is it guides you in deciding what types of soil amendments need to be added to improve soil fertility.
Step 4. Add compost to the raised bed soil
Compost is a crucial ingredient in any organic garden. It’s also an excellent way to recycle kitchen and yard waste. You can make your own compost or purchase it from a local nursery or garden center.
Here are examples of various kinds of compost that you can add to the raised bed soil:
Mixed Compost:
Compost is a mixture of decaying organic materials that have been decomposed by microorganisms. Most compost bags available for purchase at garden stores contain various organic matters such as leaves, food scraps, and grass clippings combined in a pile or bin and left to decompose. Compost improves the structure and fertility of the soil by improving the water retention, nutrient holding, and aeration abilities of soil.
Here are some bagged compost that I have used in my garden:
Cow Manure:
Cow manure is an excellent organic fertilizer because it is high in nutrients : 3% nitrogen (N), 2% phosphorus (P), and 1% potassium (K)—the NPK value of (3-2-1). These nutrients are essential for plant growth. Cow manure also contains high ammonia levels, which helps break down the organic matter in the soil and makes nutrients available to plants. However, fresh cow dung is potent and may burn the plants. Make sure to buy ‘Composted Cow Manure,’ which has been aged and aerated enough to be safe for vegetables and other delicate plants.
Mushroom compost:
Mushroom compost is a rich, organic material that is perfect for use as a soil amendment or fertilizer. It combines animal manure, wheat or rye straw, peat moss, cottonseed hulls, grape crushing from wineries, soybean meal, potash, gypsum, urea, ammonium nitrate, and lime in various ratios. Then it is left to decompose. The result is a dark, nutrient-rich mixture that helps improve soil quality and helps plants grow healthy and strong.
Mushroom compost is high in soluble salts that can kill germinating seeds. For that reason, you should not add mushroom compost to the raised bed where you are planning to direct seed plants like carrots, beans, cilantro, etc.
Horse manure:
For gardeners in rural areas, access to horse manure is not tricky. Even though it contains many beneficial nutritional components for the plants, be cautious in applying fresh horse manure to the plant. It will do more harm than good. For the best result, let the horse manure age for at least 4 to 6 months in an airy location before spreading it on the raised bed.
Homemade compost:
You don’t have to buy the compost bags from the garden store. You can easily turn the kitchen scraps, garden waste, and grass cuttings into valuable soil enhancers in just a few months. You can start composting at home in a corner of your yard or invest in a tumbling composter for fuss-free composting.
Best tumbling composters for home gardeners:
- IM4000 Dual Chamber Tumbling Composter
- Large Dual Chamber Compost Tumbler
- Miracle Gro Dual Chamber Compost Tumbler
Ensure the organic components have been adequately decayed and broken down before spreading them in the garden.
When to add compost in a raised bed?
Ideally, late fall is the right time to add compost to the raised beds. It will give it enough time to release nutritional components in the raised bed soil before the new planting season in the spring. However, it is not too late to add compost in the late winter, about 6 weeks before planting the seedling in the raised beds.
How much compost to add to raised garden bed?
Experts recommend adding a 2″ thick layer of compost to the raised garden bed soil each year. That means,
- For a 3ft x 3ft garden, add 2 cu. ft compost
- For a 4ft x 4ft garden, add 3 cu. ft compost.
- For a 4ft x 8ft garden, add 6 cu. ft compost.
- For a 4ft x 10ft garden, add 7 cu. ft compost.
Mixing a variety of composts to the raised bed soil will give the best result. For example, for a 4ft x 4ft raised bed, one bag of cow manure, one bag of mixed compost, and one bag of Mushroom compost will add a greater variety of nutrition and beneficial bacteria to the soil than adding 3 bags of the same compost.
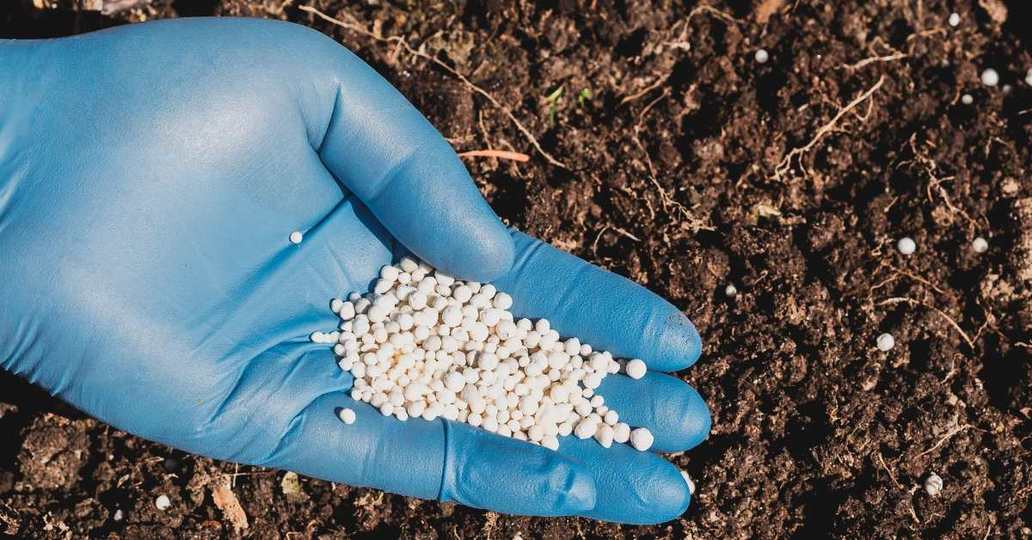
Step 5. Amend raised bed soil
Soil amendments are different than compost and fertilizers. They ‘amend’ the soil, meaning modify the soil’s texture, correct the soil’s quality, and adjust or alter the values of some minerals in the soil.
Soil amendments are substances added to soil to improve its physical and chemical characteristics such as soil structure, drainage, aeration, water retention, and nutrient availability. They can also help reduce soil erosion and compaction and suppress plant diseases and pests. If you follow this routine, you don’t need to wonder how to amend soil around existing plants.
Common soil amendments include peat moss, Rock dust, worm castings, lime, and sulfur.
Lime and Sulfur:
As mentioned above, most garden vegetables prefer slightly acidic soil, with a pH range of 6.0-6.8. If the soil pH test result is between this range, you don’t need to add the lime or sulfur to the soil.
If your soil is too alkaline or acidic, you can add garden lime or sulfur (Garden acidifier) to adjust the pH accordingly. Lime makes the soil more alkaline, while sulfur makes it more acidic.
Research and understand which one of these you need to add to your soil and how much to add. DO NOT APPLY BOTH LIME AND SULFUR to the same raised bed soil. YOU WILL NEED ONLY ONE OF THEM BASED ON YOUR SOIL pH TEST RESULT.
Lime should be added in the fall or winter before planting new plants in the spring. Sulfur can be applied at any time during the growing season. Always read and follow the directions on the product label for proper application rates.
Earth Worm castings:
As I have explained in detail why use earth worm castings for garden, they are highly beneficial for the soil and plants.
Adding worm castings to soil is a great way to improve soil’s structure. They help to aerate the soil by making it lose and fluffy, thus making it easier for plant roots to spread and absorb water and minerals from the soil. Worm Castings also improve drainage and reduce soil compaction.
Worm castings are rich in nutrients which act as a slow-release organic fertilizer. They help the plants grow strong and healthy by providing nutrition over a long period.
When to add worm casting to raised bed soil?
You can add worm castings to the garden soil at any time during the growing season. However, applying them earlier in the spring season would give the young seedlings a jump start. You can also side-dress the plants in mid-season to provide them with an extra boost of nutrition.
How much worm casting to add to a raised garden bed?
At the beginning of the season (in early spring), sprinkle 1 cup per sq ft of the surface of the raised bed. That means
- For a 3ft x 3ft garden, spread 9 cups of worm castings.
- For a 4ft x 4ft garden, spread 16 cups of worm castings.
- For a 4ft x 8ft garden, spread 32 cups of worm castings.
- For a 4ft x 10ft garden, spread 40 cups of worm castings.
At mid-season, you can add about ¼ cup worm castings around the base of each established plant.
In the last few years, I have tested multiple commercial worm castings. However, Wiggle Worm Soil Builder worm castings have given me excellent results every time.
Rock dust minerals:
Carbohydrates, protein, and fat are the main nutritional blocks for humans. Still, they do need Vitamin A, B, C, D, E, and K and Iron, Magnesium, Calcium, and other minerals for optimum health. For plants, Nitrogen, Phosphorus, and potassium are the main building blocks, but they do need other minerals for optimum health. Unfortunately, compost and other organic matter can not make up for the lack of minerals in the soil.
Adding mineral rock dust provides more than 67 major trace elements and minerals to the raised bed soil.
When to add rock dust to raised bed soil?
Ideally, late fall to mid-winter is the right time to add rock dust to the raised beds. Although it could take years for some minerals to break down in the soil, adding rock dust to the soil earlier than planting time is better than adding right at the planting time.
How much rock dust to add to a raised garden bed?
For vegetables, spreading about 1 pound per 10 square feet is recommended. That means
- For a 3ft x 3ft garden, spread 1 lb. rock dust.
- For a 4ft x 4ft garden, spread 1.5 lb. rock dust.
- For a 4ft x 8ft garden, spread 3 lb rock dust.
- For a 4ft x 10ft garden, spread 4 lb rock dust.
Rock dust is a very fine powder-like substance that does not mix well with water. Wear a face mask while sprinkling the rock dust as it may get into your respiratory system. Also, avoid applying it on a windy day.
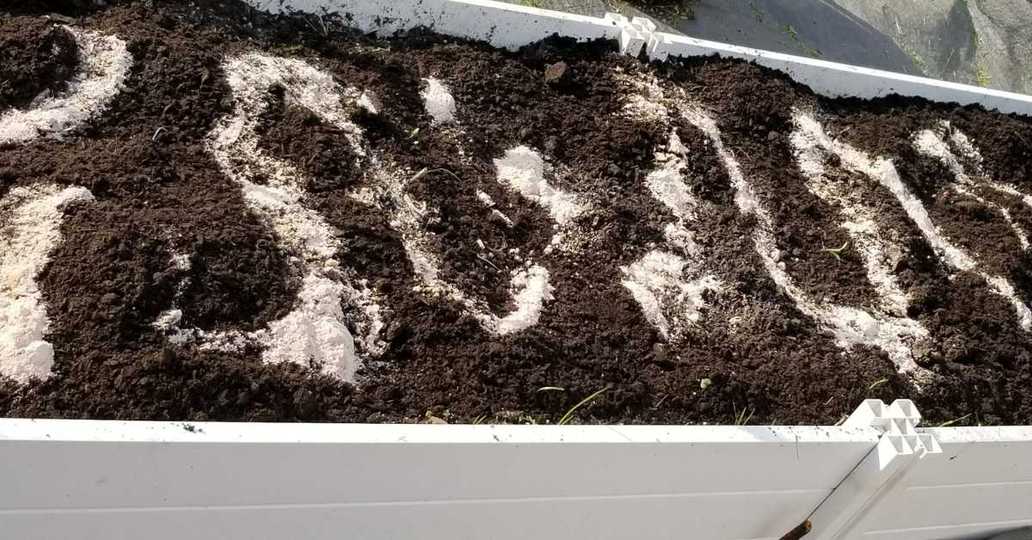
Mix the compost and amendments into the soil
Whether you add just compost or add all the amendments at once, make sure to mix them in the top 4″ to 6″ of the raised bed soil.
With a large garden fork, break down the compacted soil. Next, mix the top 4-6″ layer of the soil so the newly added compost and amendments can penetrate deep in the ground. Incorporating the top layers aerates the soil and adds more oxygen in the deeper part of the raised bed.
While mixing, remove any stones, acorns, or pinecones that you uncover. Break large clumps of soil if there is any.
Water thoroughly after mixing the raised bed soil. The best way water a raised bed is to install a drip irrigation system for raised garden bed and let it run to wet the top 6″ of soil.
Conclusion:
You may have filled the raised garden beds with the best soil available when you set up the raised garden beds. However, even the best soil can deplete nutrients and organic matter over time. In addition, vegetables and other fruit plants grown in the raised beds need rich, well-drained soil. Therefore, amending the raised bed soil regularly is vital to keeping your raised bed fertile and productive.
Remember to test the soil pH every year and adjust it as needed. Adding different types of composts and amendments is a great way to refresh your raised bed soil and prepare it for spring planting. Invest in the soil; your plants will thank you and reward you for it!
Ask your questions:
Did you find this guide helpful? If you have any question or suggestion regarding how to amend raised bed soil or how to prepare for spring planting, please leave a comment below. Or connect with me on Pinch of seeds group on Facebook. You can ask questions, post a picture for photo consultation, get personalized response and interact with other gardeners.
Loving these tips! So, thank you!
I have a raised garden bed that I’ll be using for the first time this spring. What do you consider to be the best potting soil? They are germinating in Jiffy Seed Starting Mix. Thank you so much!
Adding sulfur only briefly corrects a soil ph .
Within a short period of time it will return to its previous ph condition.
It does however help formation of enzymes and vitamins as well as fixes nitrogen and phosphorus making it more available to the plant as well as the precious microbiology.
Thanks for fact info of gardening. A lot of equipment, chemicals, measurements, testing material, making it complicated. We try to grow some veg like Egg plants, Peppers, leafy veg like Malbar Spinarch, Amaranth, Spinach, mint, cilantro for fun, and regular usage. Next time please add some simple concept which helps most of them. I sow a lot of seeds in bds, 95% don’t germinate, 3% don’t have true leaf, and survive. use fertilizer bought from shop, and home made. Soil is hard, use cocopeat, water at regular time, no much growth. Feel happy with a little plant growth. please suggest me. Big pants, like Fig dying, other Avocado, Guava leaves, end become brown and dry. Any recommendation? plz respond.
thanks in advance.