If you know what you want to plant, have made sure this is the right time to start the seeds for it and have gathered the seed starting supplies, now it’s time to get busy! If you haven’t thought about what to start, then see the beginner’s guide here.
Before we proceed, find yourself a flat surface to work on. I usually work on my kitchen counter. That way most of the supporting items like roll of paper towel, a jug for water and old rags are arm’s length away from me, in case a mishap happens!
Before we get stated, you should boil a quart of water. We will need soon.
1. Take out seed starting soil in a bowl.
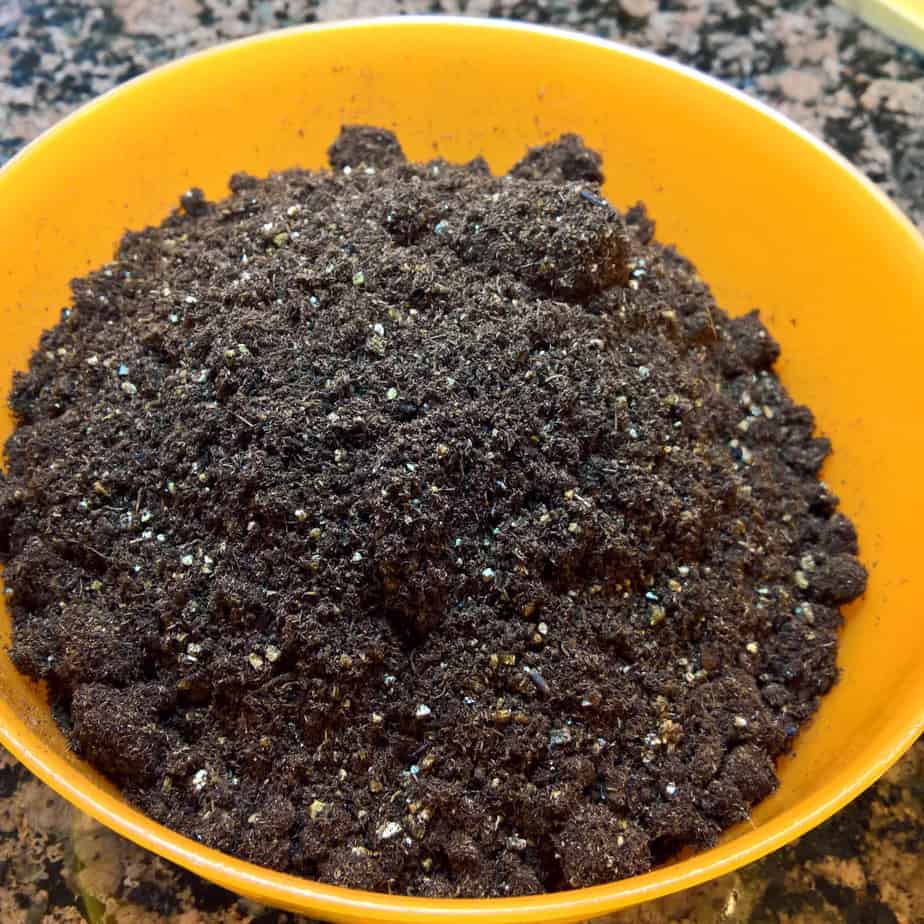
Make sure you are using the seed starting soil; not the garden soil and not the potting soil. Don’t empty the entire bag. Just take out 2 to 3 cups at a time for a small tray.
Take care while taking out the soil. Dry soil will have high amount of peat moss or coco coir which will make you sneeze if it gets into your nose.
2. Add boiling water.
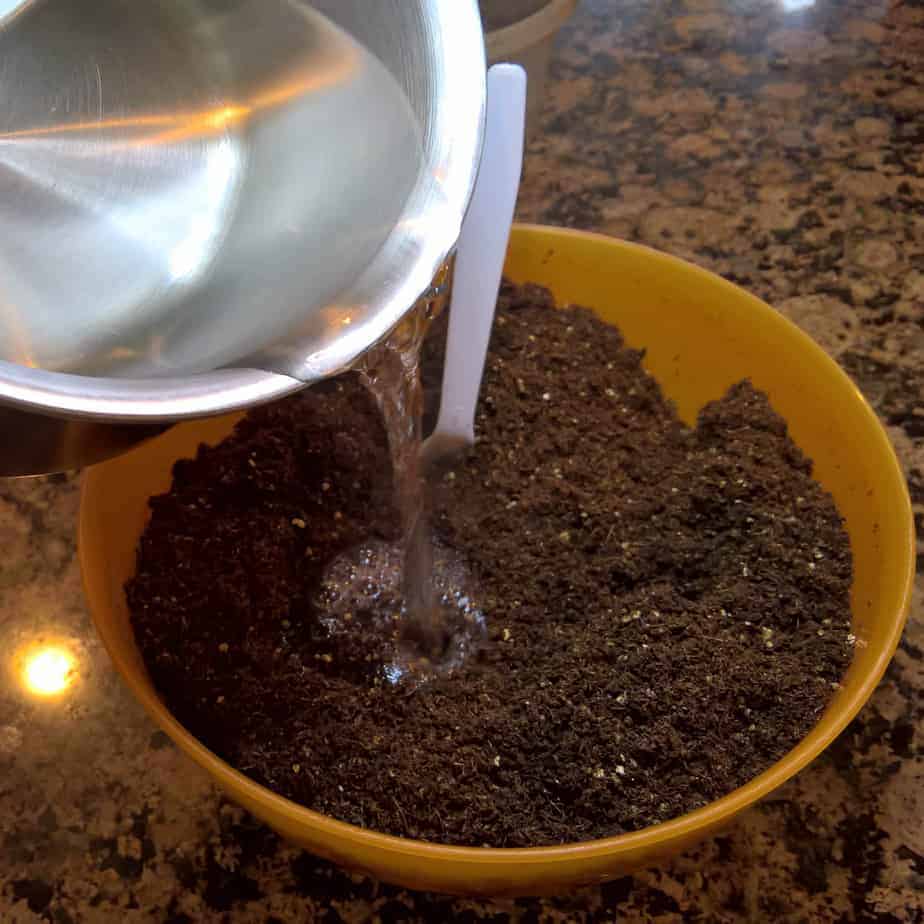
Slowly add the boiling water over the soil. There might be spore of fungus or bacteria present in the soil. Adding boiling water will sterilize the soil.
Just add enough water so that the soil is lightly moist, not soggy or runny.
3. Mix the soil.
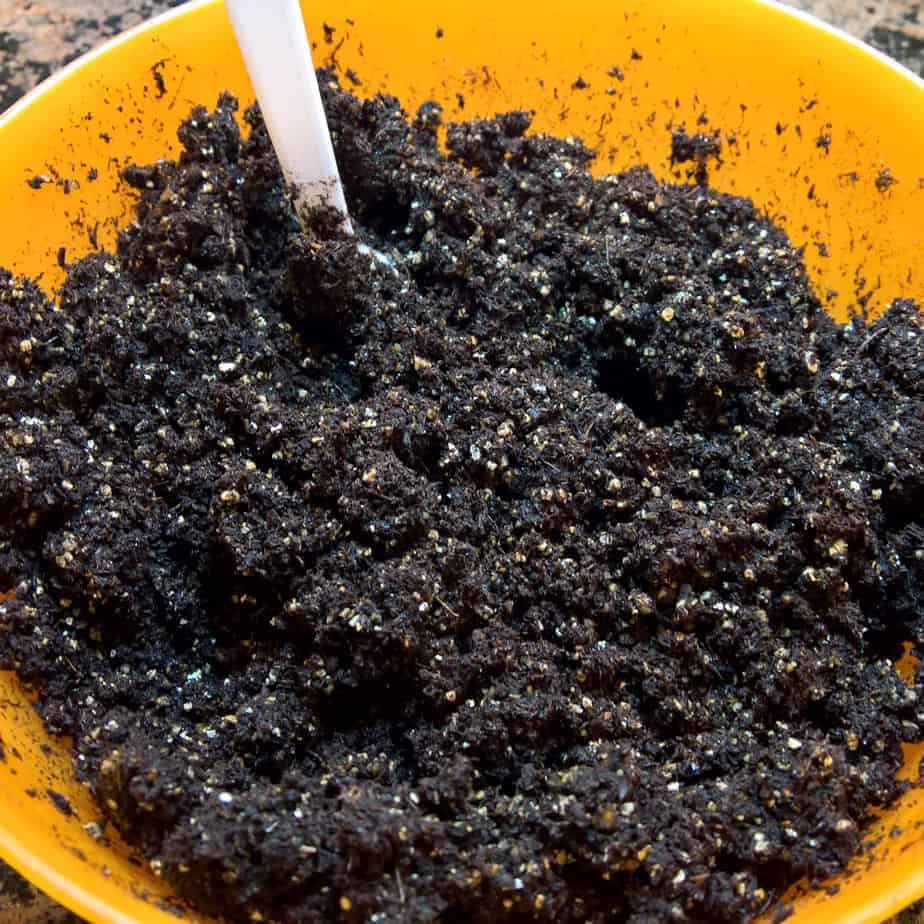
Use a spoon to mix the soil until all the soil in the bowl is moist. Don’t put your hand in it. The content might be hot!
4. Fill the seed starting cells with the soil.
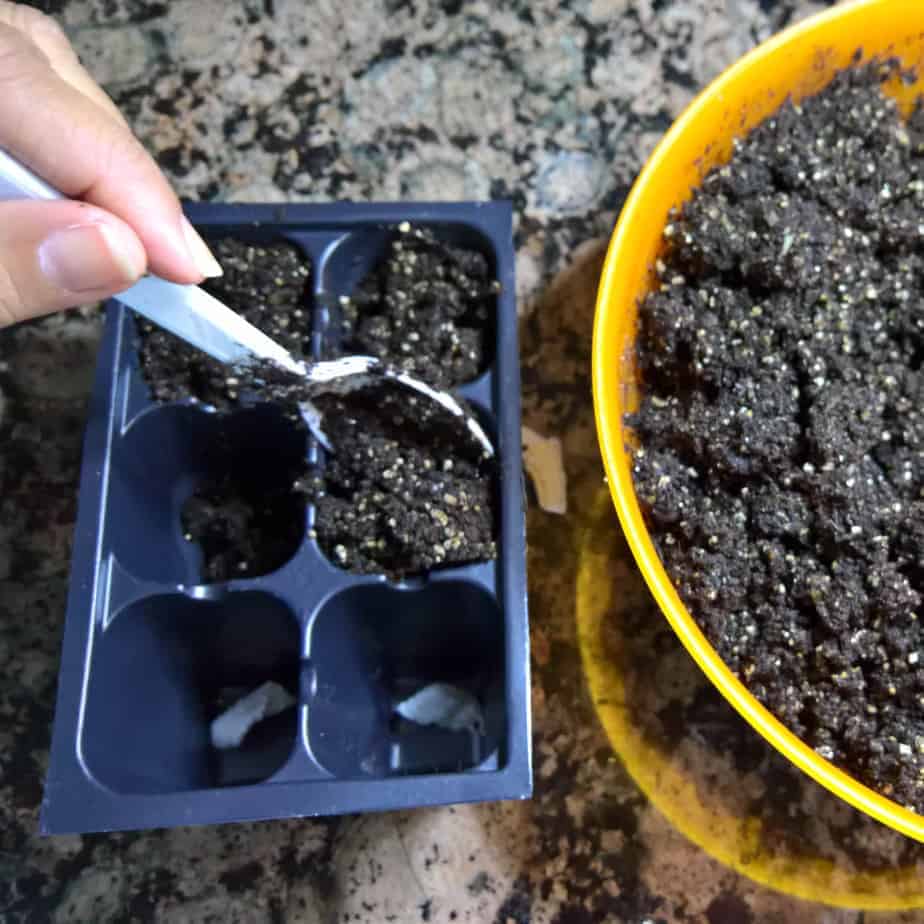
Use a spoon to fill each cell with the moist soil. Gently press soil to take out air pockets, and add more soil.
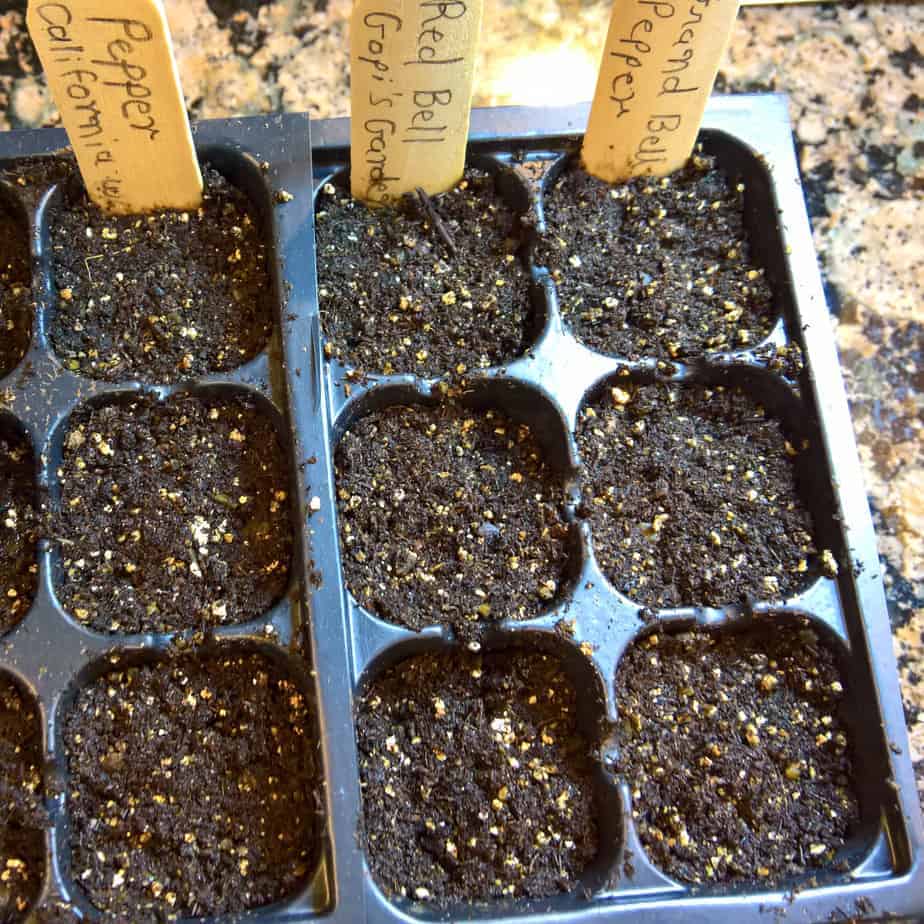
5. Prepare the labels for the cells.

Write down the vegetable name, the name of the variety and the date on the market of your choice.
I use Popsicle sticks (broken in two pieces) and a pencil to mark the cells. On one side I write vegetable name (e.g. ‘Sweet Pepper’) and the variety name (e.g. ‘California Wonder’) On the other side, date of the seed sawing.
6. Make two holes in each cell.
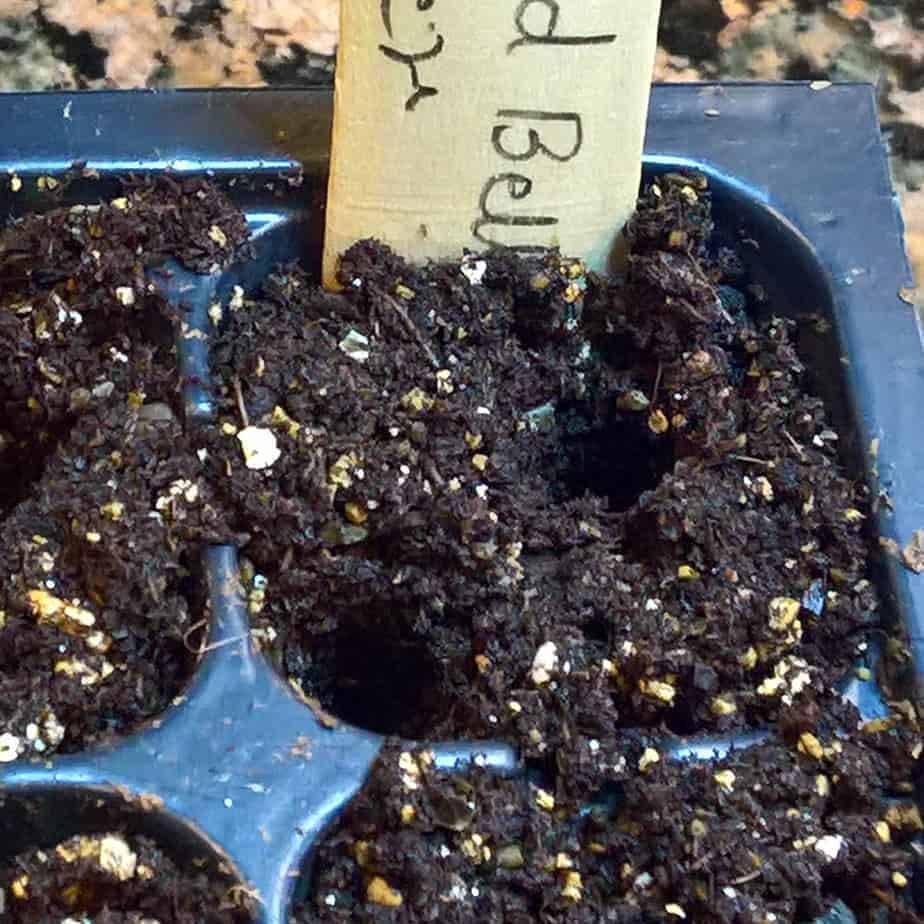
To double the probability of germination, pock two holes in each cell with the end of the pencil.
Verify the depth required for the seed type from the back of the seed packet. If the hole is too deep or too shallow, it will impact the germination rate and time.
7. Put one seed in each hole.
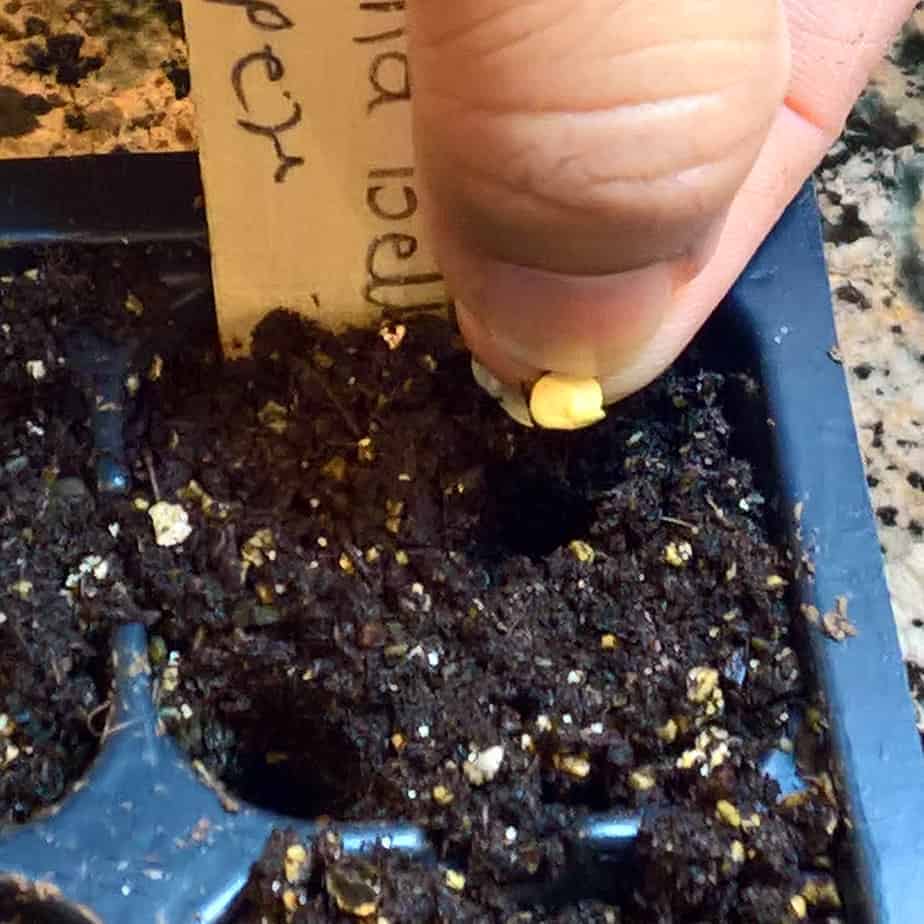
One seed in each hole is enough. Don’t crowd the space for the new seedling!
Be careful if you are handling the seeds of hot peppers. It might irritate your skin. Ware gloves, or do what I do- wet the end of the pencil (eraser side), touch the seed with the wet end; the seed will stick to the eraser. Gently tap the pencil o release the seed into the hole. Clever, ha!
8. Repeat steps 6 and 7 for all varieties.
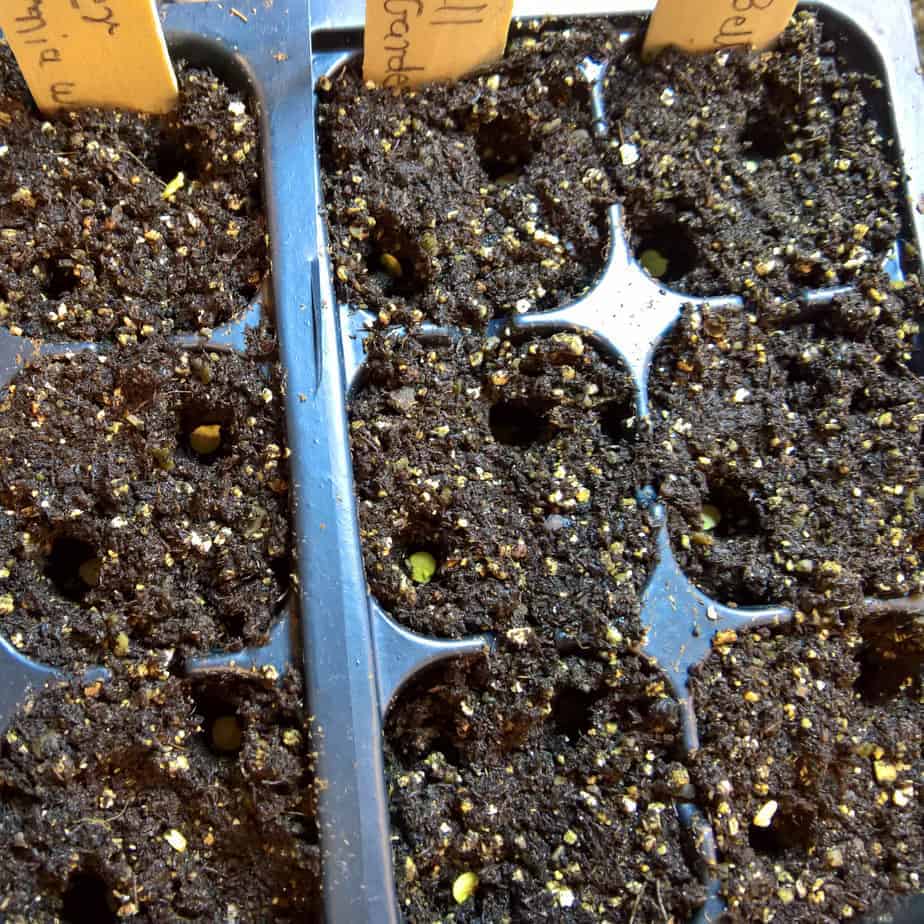
Don’t be tempted to cover the holes with soil just yet! You may forget which cells are done and which cells are not.
Saw seeds in each cell of the seed starting tray.
9. Cover the holes with soil.
Now cover the holes with soil. Lightly tap on the surface to take out any air pockets. This will make sure the seeds are in good contact of the wet soil.
10. Gently water the soil.
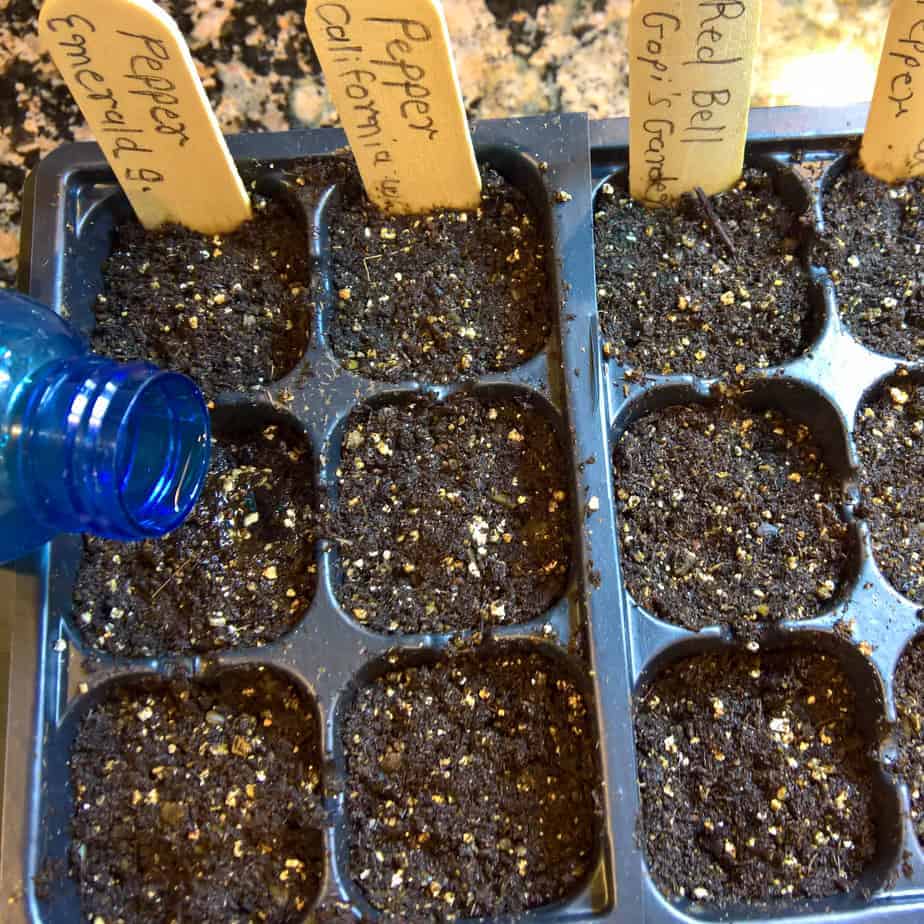
Gently water the soil, making sure the surface doesn’t get disturbed.
Use a fine sprayer, spoon or a small bottle to water.
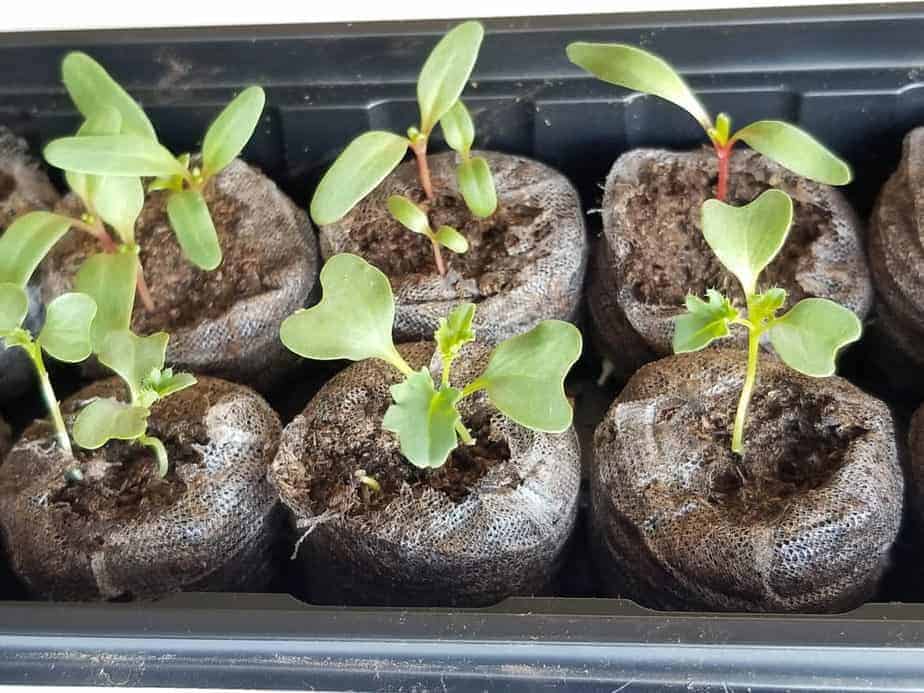
That’s it! You did it!
All you have to do now is cover the tray with the transparent dome, and put the tray in a sunny location or under a grow light. A transparent dome will retain heat and moisture, creating green house environment for the seedlings.
For faster germination, I put seedling heat mat under the tray. Heat mat will maintain a consistent, warm temperature, which is required for seeds like peppers and eggplants..
I hope you found these step-by-step instruction helpful. Was it? Please give me your thoughts or suggestion in the comment section below.